It was a great day. Overcast in the morning, but clear and sunny by 10:30 or so. The hosts provided breakfast and lunch (catered mostly; some potluck action, too.).
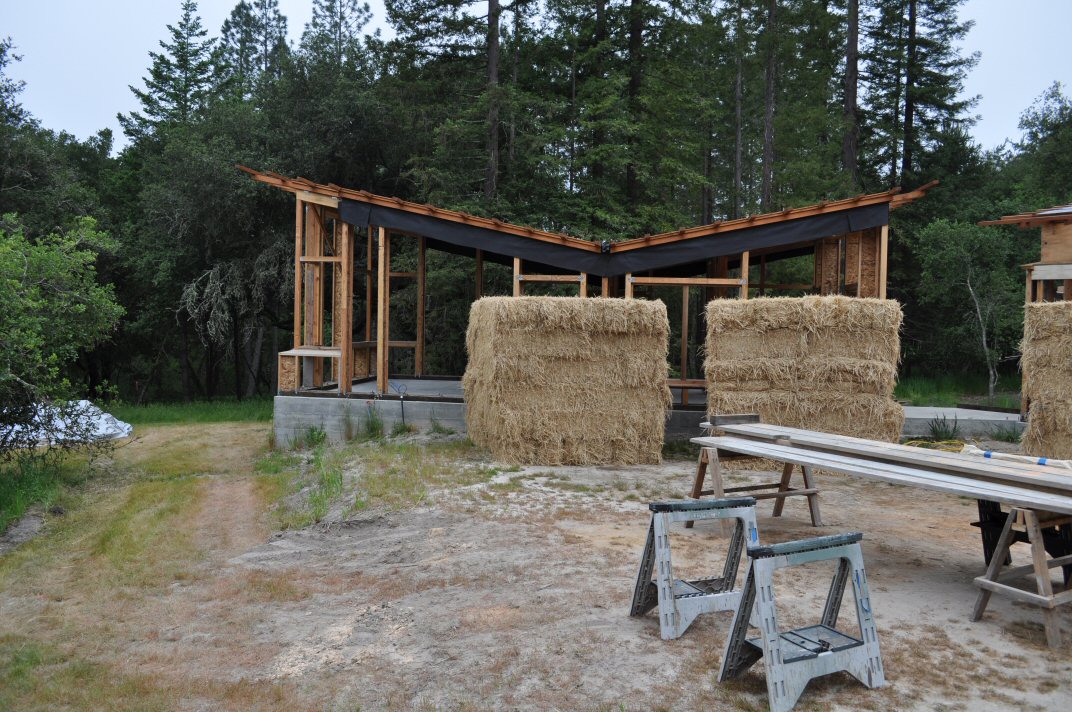
Got there around 9:00 and saw the framed buildings and 3 large stacks of bales of hay. Rice hay it was. People were gathering. Things got rolling around 9:30. They showed how most of the spaces to be filled were approximately bale-sized. But between the building not being designed so that doors and windows were placed with consideration for bale-size; and that bales vary in length from 40-50 inches, it becomes necessary to cut the bales into the needed sizes. Turns out there was a lot of bale-cutting. They had 3 sets of tools and 3 cutting stations setup.
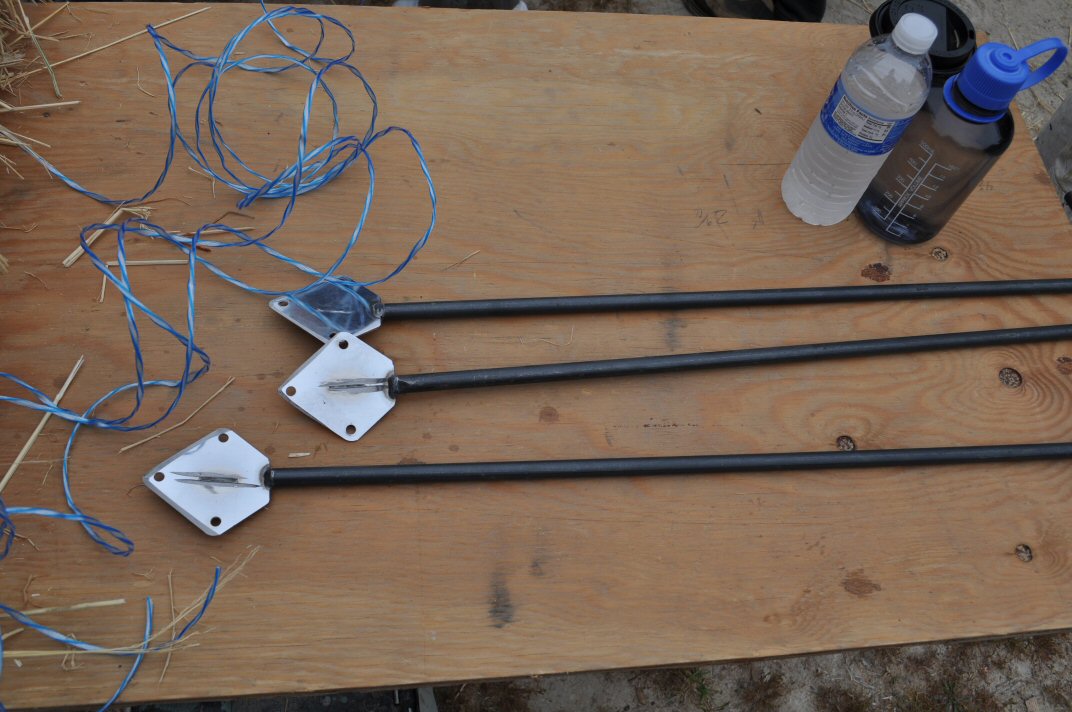
Since bales come very tightly tied with baling twine – and you want to keep as much of that tightly packed feature as possible – you don’t cut bales to size by just cutting them open and making new bales out of loose straw. So the bale cutting is done by sticking 3 bale “needles” (as in sewing needles – but these are 1/2 inch round iron bars with sharp arrow-head-like points welded onto them) through the bale at the measured size. The heads of the needles have 2 holes in them and you feed new twine into the 2 holes (for each of the 3 needles) and then pull the needles back out, drawing the new twines back through the bale. For each needle, there are now 2 threads of twine pulled through the bale. One thread is tied around one end of the bale and the other thread is tied around the other end of the bale. As tight as you can by hand with gloves on. Do this for all 3 needles gives you 2 parts of the bale, each tied with 3 strings of twine. You then cut the original twine holding the entire bale and then pull the bale apart into the 2 separately tied pieces. You loose a little of the tight packing, but not much. Sometimes, the size you’re cutting to won’t leave much to really cut the bale into 2 pieces, so you only cut it into 1 piece and let the rest of the bale “flake” off. This “flake” is used to pack into small spaces where bales aren’t fitting tightly.
I was part of the bale-cutting crews the entire day. My arm is too sore to be hauling bales up to walls (and up ladders) and using sledgehammers to pound them into place. It was fun. About 40 people showed up. Each bale-cutting crew is 3-4 people. The bale-stuffers would measure the sizes of the spaces and then come back to one of the bale-cutting stations and write down, in big sharpie pen, the size bale they needed. It was common that a bale-cutting crew had a list of bale size orders written on their bench. You tried to work out the cutting so that you could find a raw bale of a size that would cut into 2 “orders”. Not always possible, but you tried if you could. Since the bale-whackers could order bales a lot faster than bale-cutters could cut them, it was often the case that by the time you got your bale cut and called out “order up” with the size you’d just made, that it might be a while before the bale-stuffers remembered what that size was for and where it was supposed to go.
We all broke for lunch around 1:00. More work after lunch. Things faded out around 3:00-ish. There were places where bales had to be fit around plumbing/wiring in the walls and that took more custom work than volunteers should be used for. I hear there was another crew (paid?) coming the next day to do the custom/finish work with the bales – tight corners, triangle shaped areas (under roof edges), around the plumbing/wiring, etc.
Photos:
(yes, I know the photos don’t fit in the margins of the blog layout)
Here are stacks of fresh-off-the-truck bales in front of the framed master bedroom (the house is 3 separate structures facing a courtyard).
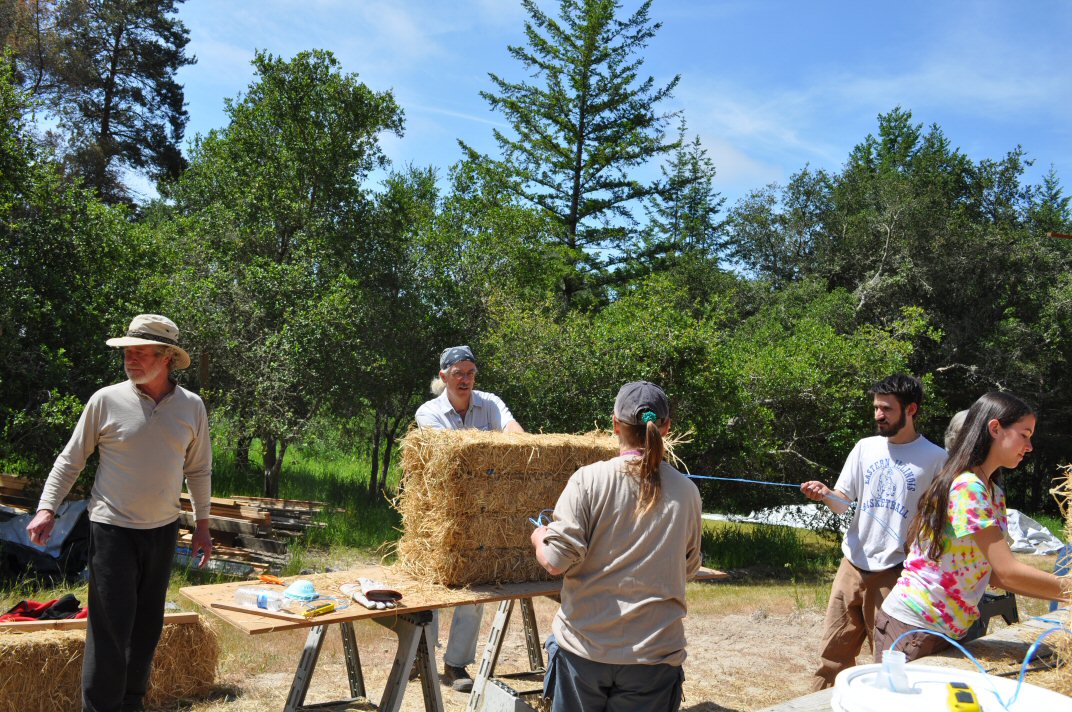
Here we are pulling the bale needles out after stringing them. The twines have to be kept straight so they don’t cross in the middle of the cut. Otherwise the bale can’t be pulled apart with crossed twines.
The bale needles. While this set had 3 holes per head, we only used 2 of the holes per needle. It could be an effort to force the needles through the bale. Sometimes you had to use a sledgehammer on the needles to pound them through the bale.
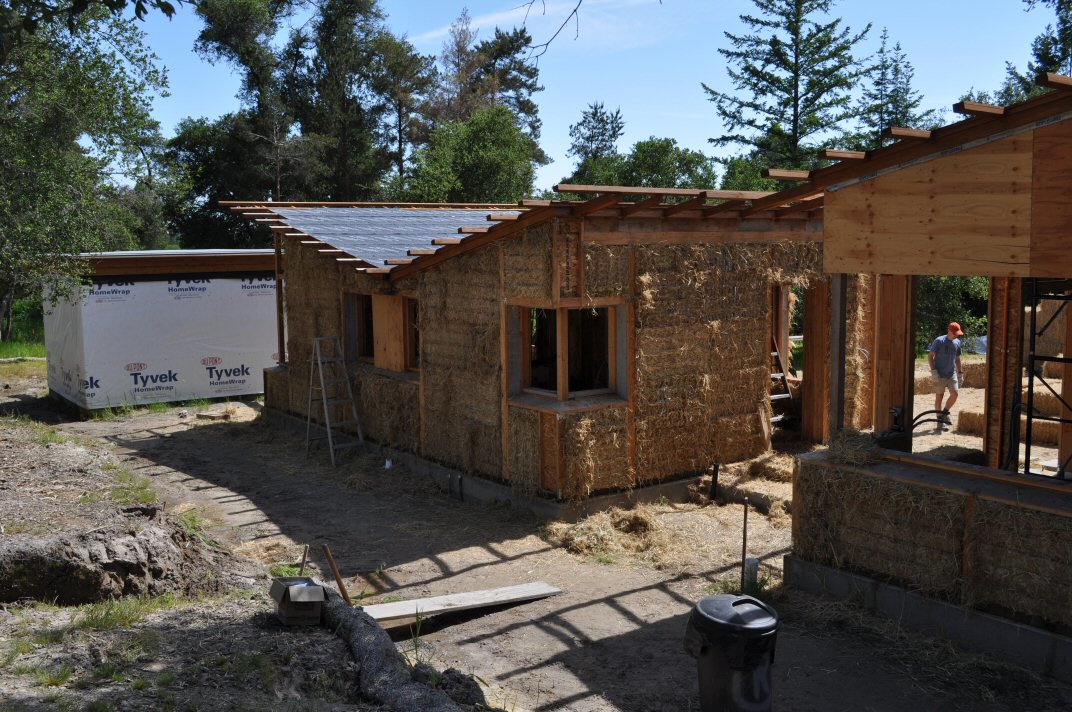
The finished project. Exterior walls with bales stuffed in. Now you can see where the windows are. The walls will be finished by nailing up “chicken-wire” over the exterior and interior surfaces and adobe/plaster applied. Probably a plastic sheet, too, to keep the moisture out of the bales.
Community effort? Sure! Free labor? You bet! (well, they did supply food and drink). It was fun and satisfying work. Will I see these people again? Some, now and then, maybe. We all got along just fine and figured out who could do which tasks well.
One last photo. The floor of the master bedroom will be stained concrete. As the concrete was poured, she showed up and pressed oak leaves into the wet cement. They were brushed out when the concrete was done. She hopes the stain will look interesting in the embossed oak leaves. Several of them all over the master bedroom floor (nowhere else in the house). The floors throughout the place are radiant solar heated hot water embedded in the concrete.
